**NEW IMPROVED RECIPE ** If you’re looking for Impossibly fluffy, banana-y, golden brown pancakes that are calorie controlled… look no further. Some people think that breakfast is a waste of calories… not me… I can’t go without my breakfast, and while it’s normally a nice hot bowl of porridge, once in a while I do love a good stack of pancakes, as does the rest of the family, and really just about everyone I know!! Just because you’re calorie counting doesn’t mean you have to miss out on gorgeous brunch or breakfast.
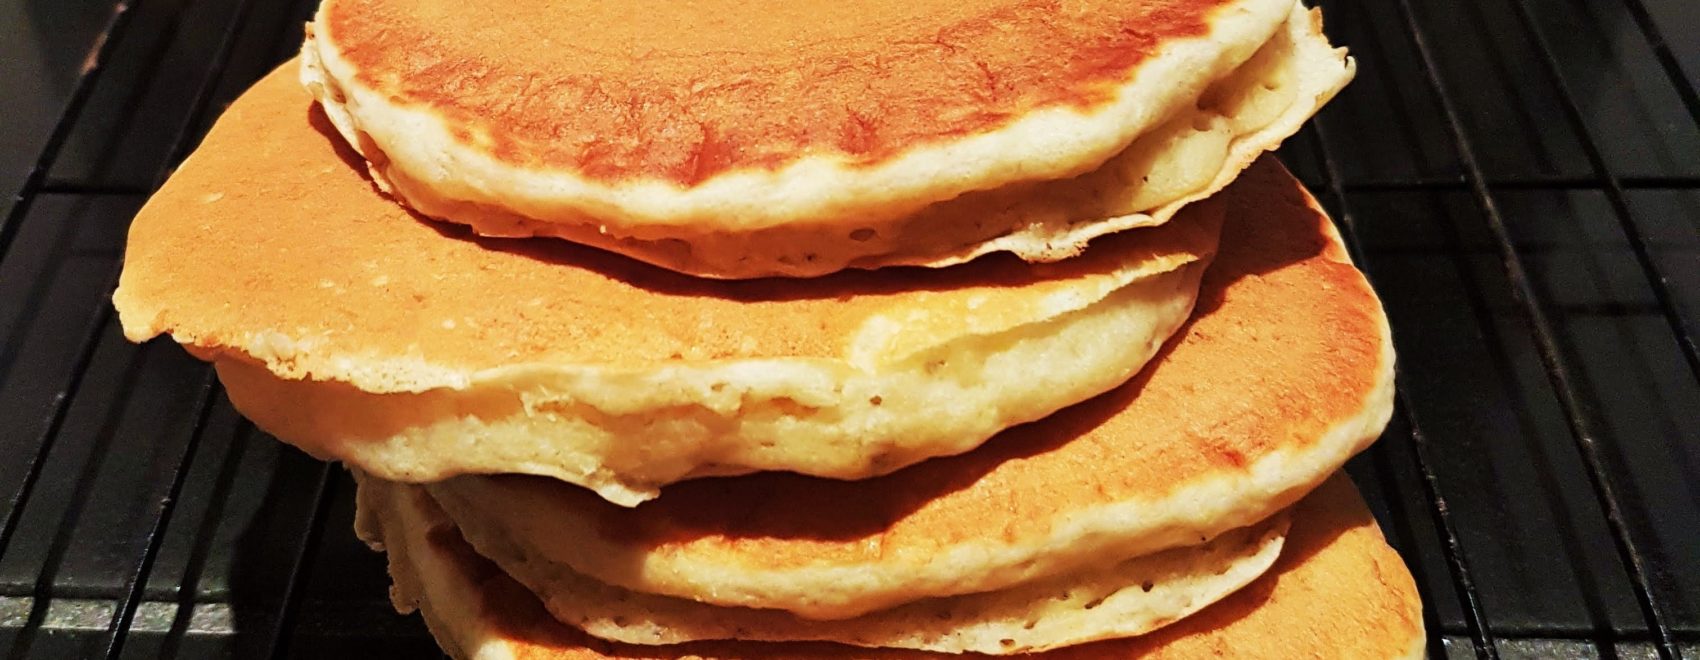
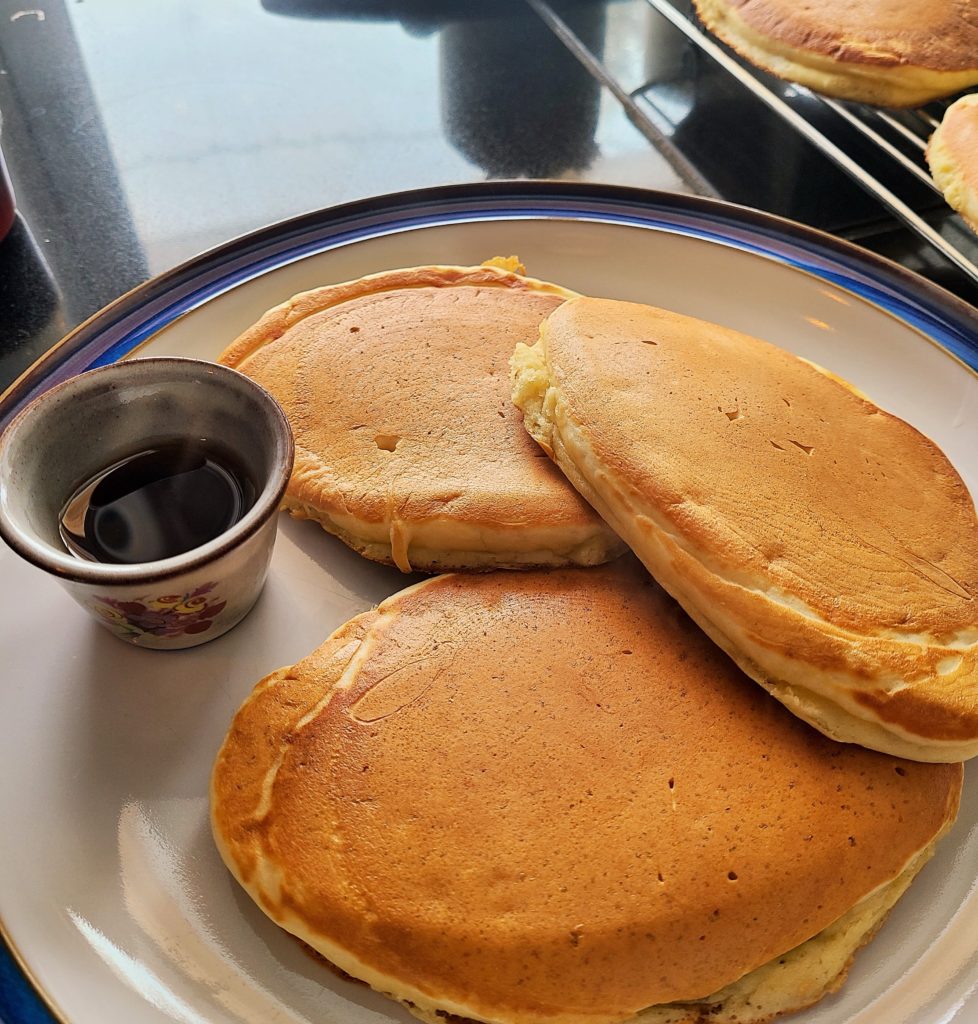
This delightful stack of three thick fluffy American style pancakes logs in at only 207 calories. Well, well, well worth it. This keeps me full for hours. I always make the full recipe which gives 20 pancakes even if there’s just two of us at home. The leftovers reheat brilliantly over the next few days in the toaster, actually they go a bit crispy on the outside and stay soft inside… so good! If you want to extend the recipe, you can add another banana which will make more deliciousness to keep or serve an even bigger crowd.
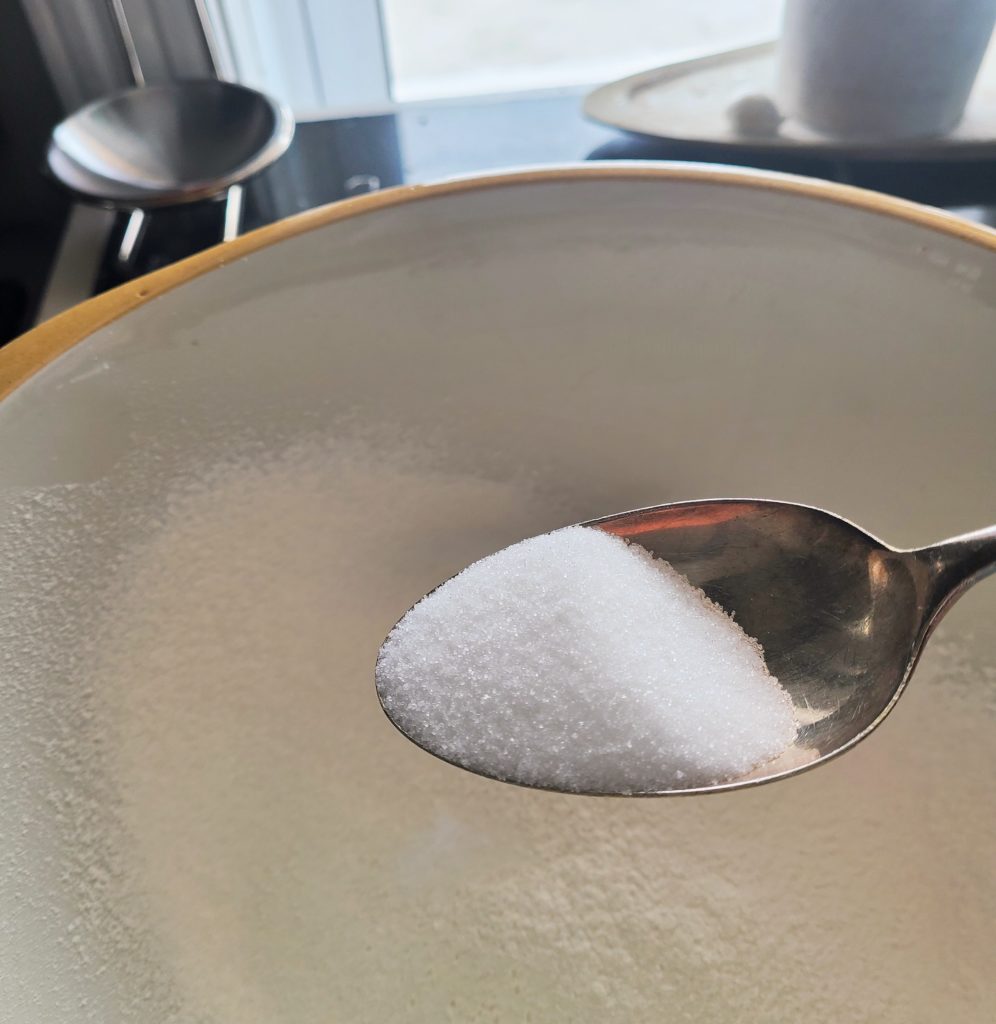
For this recipe you will need two mixing bowls; one large one for the dry ingredients, and another a bit smaller for the wet ingredients. Start by weighing out your dry ingredients into a large bowl. Sieve in the flour and the sugar substitute, baking powder and salt.
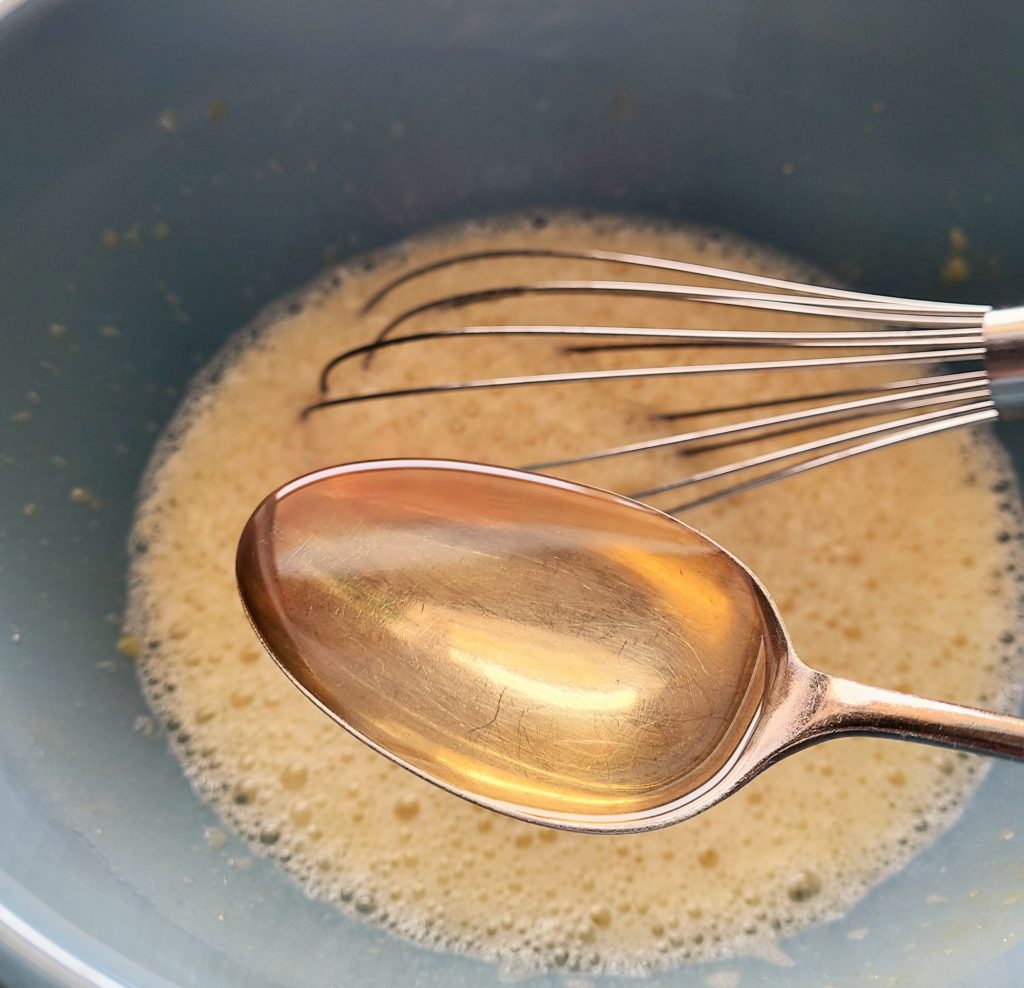
In a second bowl, combine the wet ingredients. Mash the bananas, add the vanilla essence and eggs and whisk. Add the milk and whisk again, finally adding the oil.
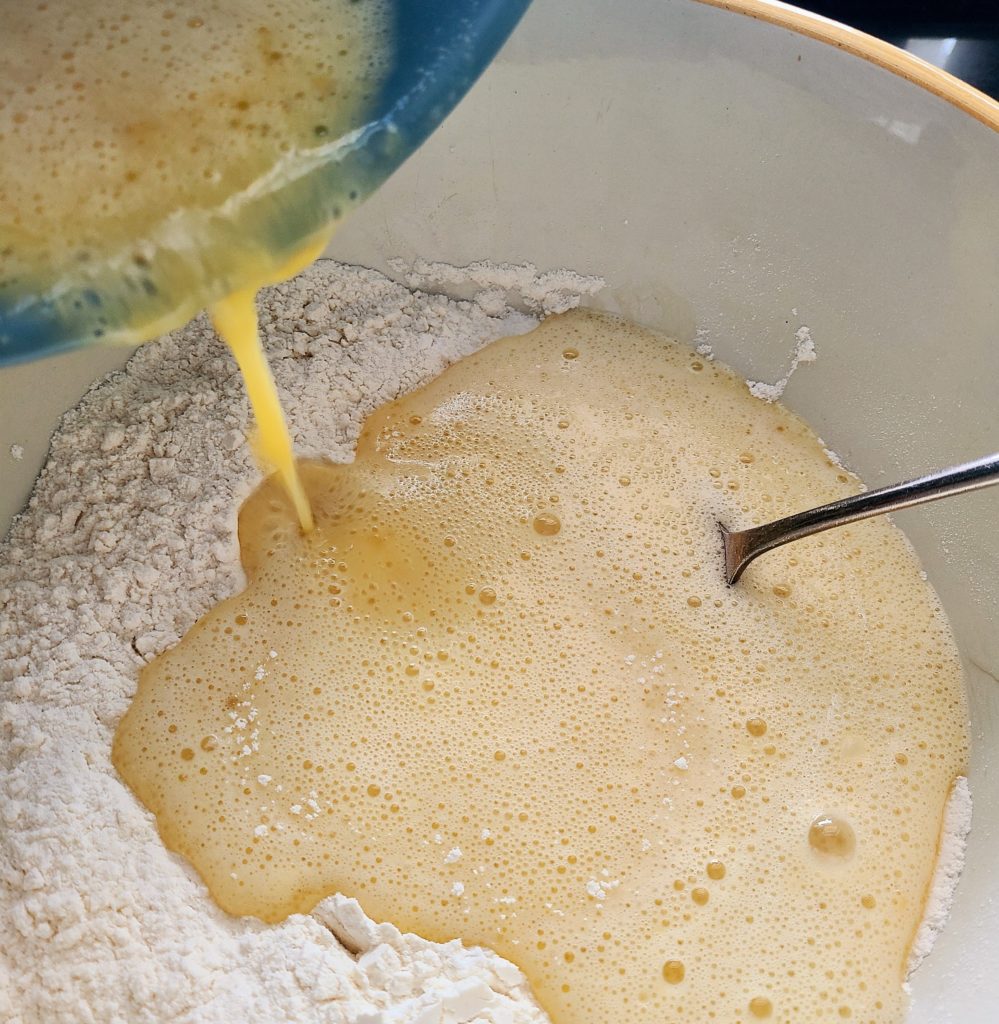
Pour the wet ingredients onto the dry ingredients and fold together to combine until there are no big lumps of flour left. DO NOT OVERMIX! It will be lumpy, which is fine. If it’s extremely thick, you can add a drop more milk to loosen.
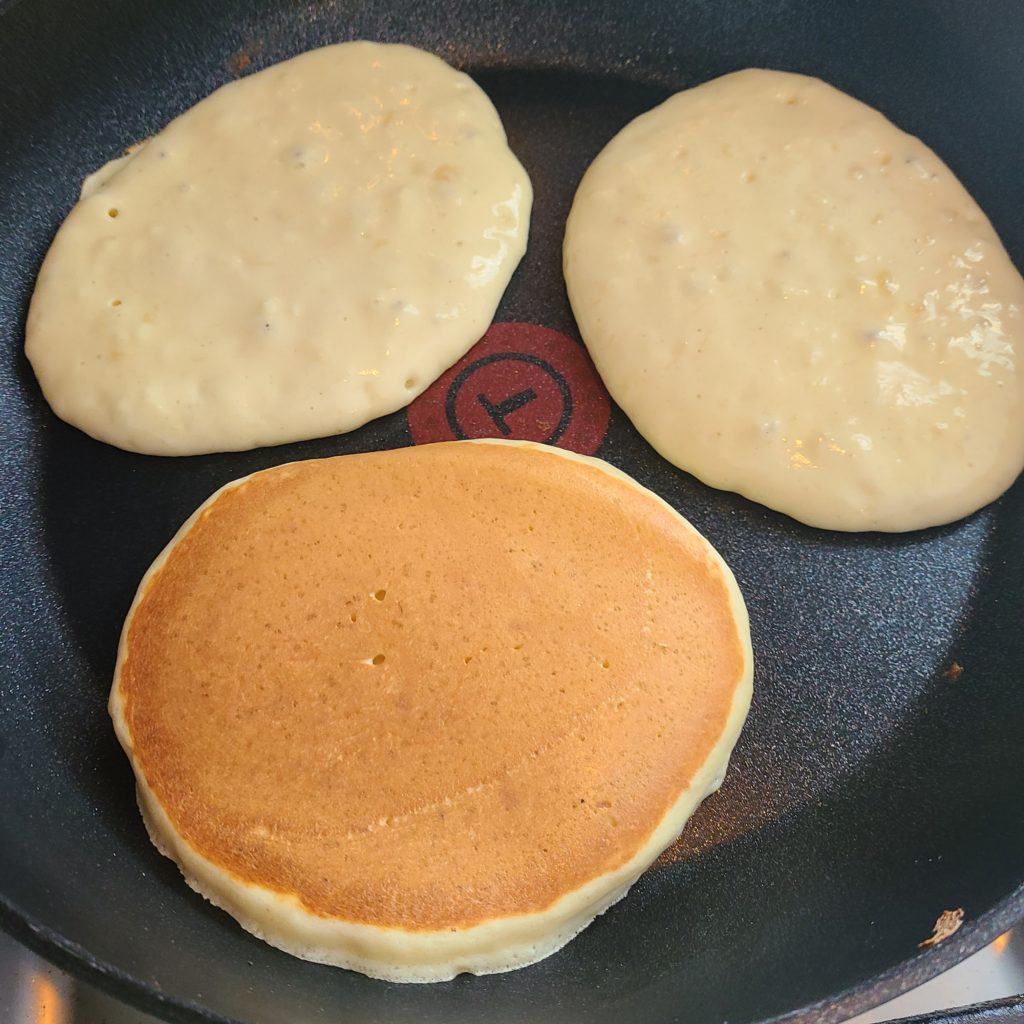
Heat a non stick frying pan on a low heat. My pan will cook 3 pancakes at a time, so I spoon one and a half tablespoons of batter into three “rounds” in the pan. Once you start seeing bubbles appear on the surface you can carefully turn the pancakes over. Cook turning till they’re golden brown and the center of the pancake springs back to the touch.
Remove from the pan and keep warm till you’re ready to eat. Repeat with all the remaining batter.
If you’re keeping extras for later/tomorrow, then I prefer to put them on a cooling rack so they don’t go soggy on the bottom. Once cold they can go in the fridge and can be warmed up in the toaster.
I like to dip mine in a small pot of maple syrup – simple and delicious. How do you like yours?
RECIPE: Banana Pancakes
You will need 2 mixing bowls and a large non stick frying pan.
Makes about 20 4-inch diameter thick fluffy pancakes
Ingredients
- 1.5 cups (250g) self raising flour
- 1.5 teaspoons baking powder
- 0.5 tsp salt
- 1.5 tablespoons (30g) Swerve granulated sugar substitute, or Canderel Sugarly
- 2 large very ripe bananas, mashed well
- 1 teaspoon vanilla essence
- 2 eggs
- 1 cup + 2 tablespoons (10 fl oz / 275ml / 295g) skimmed milk
- 1 teaspoon vegetable oil
Method:
- Into a large bowl, sift the flour, sugar substitute, salt and baking powder
- In a second bowl, mash the bananas. Add the vanilla and egg and whisk them together.
- Add the milk and whisk again, finally add the oil and whisk.
- Pour the wet ingredients onto the dry ingredients and fold together to combine. Don’t overmix, a lumpy batter with no big clumps of flour is what you want.
- Heat a non-stick frying pan to a low heat.
- Drop 1.5 tablespoons of the batter into rounds in the pan, two or three at a time if your pan is big enough.
- When you see air bubbles appear on the surface, lift an edge to check they’re browning, and turn gently to cook the other side. Adjust the heat accordingly. Turn again if necessary to get a nice golden surface.
- Once the centers spring back to the touch, they’re done. Remove from the pan and keep warm till you’re ready to eat. Repeat with all the remaining batter.
- If you’re keeping extras for later/tomorrow, then put them on a cooling rack so they don’t go soggy on the bottom. Once cold they can go in the fridge and can be warmed up in the toaster.
- Serve with a small pot of maple syrup on the side (better than pouring syrup over the top, as it’s easier to control the amount this way).







Leave a Reply